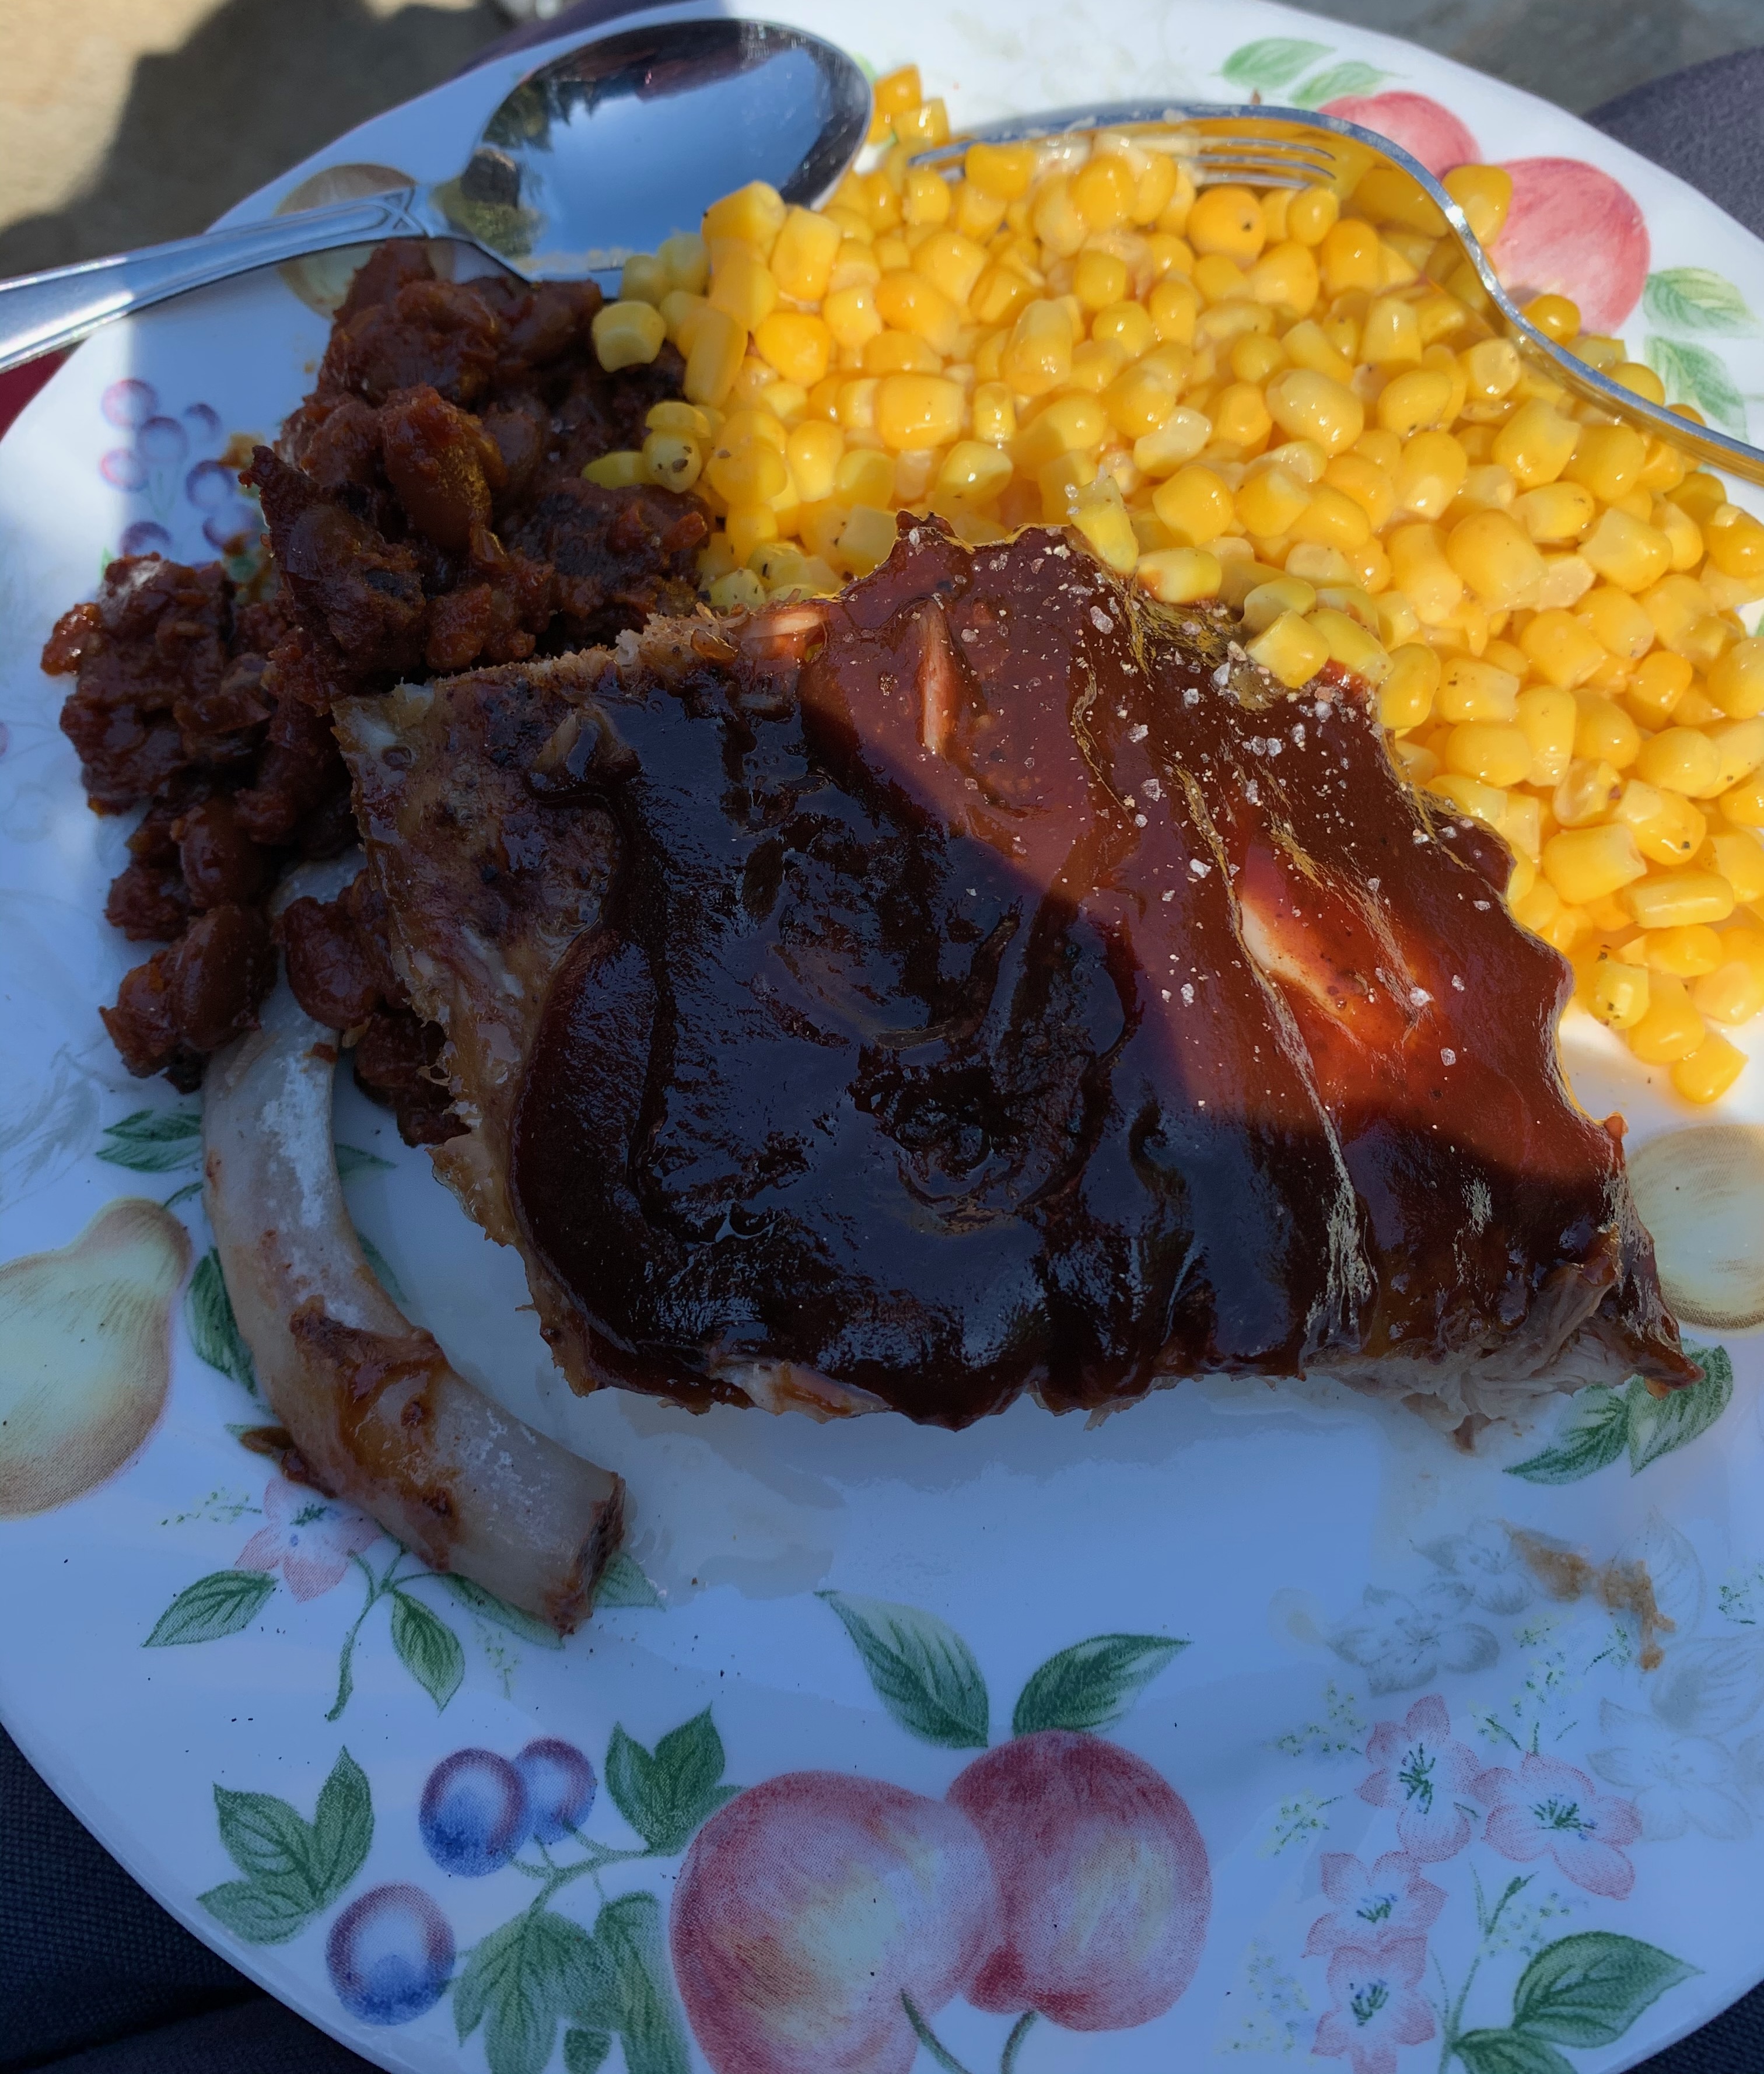
Fall-off-the-bone ribs that beat any restaurant–right from your own backyard, or kitchen.
The Story
Any time we fire up a cookout, our backyard turns into a rib joint. Not the kind with paper-thin napkins and sticky menus–the kind where the ribs are so tender that the bones slide right out, and everyone asks for seconds before the first rack is gone.
Scott’s BBQ Ribs are the reason. This is his recipe, his method, and his domain. I cook by recipe – Scott cooks by taste, and ribs are squarely his territory. I wrote this one down by watching him work and measuring what he does by feel, so I’d have a shot at getting close to what he makes myself. Scott has perfected a low-and-slow oven method that produces restaurant-quality ribs every single time–no special equipment, no smoker required (though he has a smoker variation if you want to take it up a notch).
The secret? Two things. First, the temperature. These ribs cook at 210 degrees F for a full two hours, then get a coat of BBQ sauce and finish at 250 degrees F for 20 minutes. That low-and-slow approach is what makes the meat incredibly tender without drying it out. Second–and this is the step most people skip–removing the membrane from the back of the ribs before cooking. That thin, papery layer on the bone side? If you leave it on, it turns into a tough, chewy barrier that prevents seasoning from penetrating and keeps the meat from reaching its full tenderness. Removing it is the single most important prep step, and we will walk through exactly how to do it.
The result is ribs that are tender, flavorful, and fall-off-the-bone perfect. The kind of ribs that make people stop mid-conversation to say, “These are incredible.” The kind that turn a backyard barbecue into something people remember.
Key Details
Prep Time: 10 minutes | Cook Time: 2 hours 20 minutes | Yield: Varies by rack size
Sustainability Note: A rack of ribs at a restaurant runs $25-40 per person, plus disposable containers, napkins, and the drive to get there. Making ribs at home costs a fraction of that, feeds a crowd, and generates zero single-use packaging. For backyard entertaining, home-grilled ribs are better for your wallet and the planet–no styrofoam platters, no plastic bags, no delivery fuel. Just great food, your own plates, and a backyard full of people you love.
The Recipe
Ingredients
| Amount | Ingredient |
|---|---|
| 1-2 racks | Baby back ribs, thawed |
| As needed | Your favorite dry rub |
| As needed | BBQ sauce |
Equipment Needed
- Covered baking pan (or roasting pan with foil cover)
- Sharp knife
- Basting brush
Instructions
Prepare Ribs:
-
Remove the membrane (this step is crucial–do not skip it):
- Locate the thin membrane on the back (bone side) of the ribs
- Use a knife to loosen a corner of the membrane
- Grip the loosened edge and peel off the entire membrane in one piece
- Discard the membrane
- This ensures tender ribs and allows the seasoning to penetrate the meat
-
Season ribs:
- Generously season both sides with your favorite dry rub
- Pat the rub into the meat so it adheres
- Let the ribs sit while the oven preheats
Bake Ribs:
-
Preheat oven to 210 degrees F.
-
First cook (low and slow):
- Place ribs in a covered baking pan
- Cook at 210 degrees F for 2 hours
- Do not open the pan during this time
-
Add BBQ sauce:
- Remove ribs from oven
- Generously coat both sides with BBQ sauce using a basting brush
-
Second cook (finish):
- Increase oven temperature to 250 degrees F
- Return ribs to oven uncovered
- Cook for 20 minutes more
-
Check doneness:
- Ribs are done when the bones pull out easily
- Meat should be very tender
- Internal temperature should reach 190-203 degrees F
-
Rest and serve:
- Let ribs rest for 5 minutes before cutting
- Cut between the bones to serve
- Set out extra BBQ sauce for dipping
Why This Recipe
Restaurant ribs at home–for a fraction of the cost. A family dinner at a BBQ restaurant easily runs $80-120 for four people. Two racks of baby back ribs at the grocery store cost $15-25 depending on the season, and they’ll feed the same four people with leftovers. When you’re hosting a backyard cookout, the savings multiply fast. Feed eight people ribs at a restaurant and you’re looking at $200+. Do it at home and you’re spending $30-50 on meat, plus whatever sides you make.
Backyard entertaining is sustainable entertaining. Every restaurant meal or takeout order comes with waste–disposable plates, plastic utensils, styrofoam containers, paper bags, and the fuel used for delivery or driving. When you cook at home, you eat on real plates, use real silverware, and the only thing going in the trash is bones (which, by the way, you can save for Homemade Bone Broth). A backyard cookout at home is one of the lowest-waste ways to feed a crowd.
Mastering one technique builds confidence for more. Once you’ve nailed low-and-slow ribs, you start to realize that a lot of “impressive” dishes are actually just simple techniques done patiently. Scott’s ribs taught me that the best cooking often isn’t complicated–it’s just about getting the fundamentals right and giving food the time it needs. That confidence carries over into everything from Thai Curry to Korean Beef to tackling your first batch of homemade jam.
Notes & Variations
- Membrane removal: This is the most important step in the entire recipe. If you have never done it before, here’s the trick–use a butter knife to work under a corner of the membrane on the bone side of the rack, then grip it with a paper towel (it’s slippery) and pull it off in one steady motion. If it tears, just grab the next piece and keep going. Leaving the membrane on results in tough, chewy ribs that don’t absorb seasoning properly.
- Dry rub options: Use any commercial rub you like, or make your own. A few ideas from our kitchen:
- Classic: Paprika, brown sugar, garlic powder, onion powder, black pepper, cayenne
- Sweet and Spicy: Brown sugar, chili powder, paprika, cumin, black pepper
- Simple: Salt, black pepper, garlic powder
- Memphis Style: Paprika, garlic powder, onion powder, black pepper, cayenne, oregano
- BBQ sauce: Any style works–sweet Kansas City, tangy Carolina mustard, spicy Texas, or smoky Memphis. Use whatever you love.
- Doneness test: When a bone pulls out easily with a gentle twist, the ribs are done.
Smoker Variation:
If you have a smoker and want to add that extra layer of flavor:
- Remove membrane and season as directed above
- Smoke ribs at 210 degrees F for 90 minutes
- Check if a bone pulls out easily
- If the bone does not pull out easily:
- Transfer ribs to oven at 250 degrees F
- Check every 20 minutes
- Continue until a bone pulls out easily
Gluten-Free Notes:
- This recipe is naturally gluten-free – the ribs themselves contain no gluten
- Check your dry rub and BBQ sauce labels to confirm they are gluten-free (many commercial brands are, but always verify)
- This is one of the easiest GF-friendly main dishes you can serve to a crowd
Additional notes from our kitchen:
- Season ahead: You can season the ribs the night before and refrigerate them. The longer the rub sits on the meat, the more flavor it develops.
- Buy on sale: Watch for baby back ribs on sale around Memorial Day, July 4th, and Labor Day. Stock up and freeze for future cookouts–they freeze well for up to 3 months.
- Save the bones: After everyone has eaten, collect the rib bones and freeze them. They make an excellent addition to Homemade Bone Broth.
- Low and slow means patience: Do not be tempted to raise the temperature to speed things up. The 210 degree F cook for 2 full hours is what makes these ribs tender. Rushing it produces tough meat.
- Rest before cutting: Those 5 minutes of resting let the juices redistribute. Cut too early and the juices run out onto the cutting board instead of staying in the meat.
Serving Suggestions
- Classic combination: coleslaw and cornbread
- BBQ feast: baked beans and mac and cheese
- Light summer spread: fresh corn on the cob and garden salad
- Cookout favorites: potato salad, watermelon, and grilled vegetables
- Sandwiches: pull the meat off the bone and serve on buns with extra sauce
Storage & Make-Ahead
- Refrigerate: Store covered for up to 4 days
- Freeze: Wrap tightly in foil, then place in a freezer bag. Freeze for up to 3 months.
- Reheat: Warm in a 250 degree F oven covered with foil until heated through (approximately 20-30 minutes from refrigerated). Add a splash of water or extra BBQ sauce before covering to keep the meat moist.
- Make-Ahead Seasoning: Season ribs the night before and refrigerate. Pull them out while the oven preheats and proceed with the recipe.
Links & References
- Source: Scott Seely
- Related Recipes: Banana Muffins | Korean Beef | Mexican Casserole | Thai Curry | Homemade Bone Broth
Print This Recipe
Click here to print this recipe or use your browser’s print function (Cmd+P on Mac, Ctrl+P on Windows).
Scott’s BBQ Ribs Prep: 10 min | Cook: 2 hrs 20 min | Yield: Varies by rack size
Ingredients:
- 1-2 racks baby back ribs, thawed
- Your favorite dry rub
- BBQ sauce
Equipment:
- Covered baking pan (or roasting pan with foil cover)
- Sharp knife
- Basting brush
Instructions:
- Remove membrane from bone side of ribs (crucial step–do not skip)
- Season both sides generously with dry rub; pat into meat
- Preheat oven to 210 degrees F
- Place ribs in covered pan; cook at 210 degrees F for 2 hours
- Remove from oven; coat both sides with BBQ sauce
- Increase oven to 250 degrees F; return ribs uncovered
- Cook 20 minutes more
- Check doneness–bones should pull out easily
- Rest 5 minutes before cutting between bones
Smoker Variation: Smoke at 210 degrees F for 90 min, check bone. If not ready, finish in 250 degree F oven, checking every 20 min.
Storage: Refrigerate up to 4 days, or freeze up to 3 months. Reheat at 250 degrees F covered with foil.
The best cookout memories don’t come from a restaurant–they come from a backyard, a rack of ribs, and the people you share them with. Scott’s ribs are proof that the simplest traditions, done well, are the ones worth keeping.