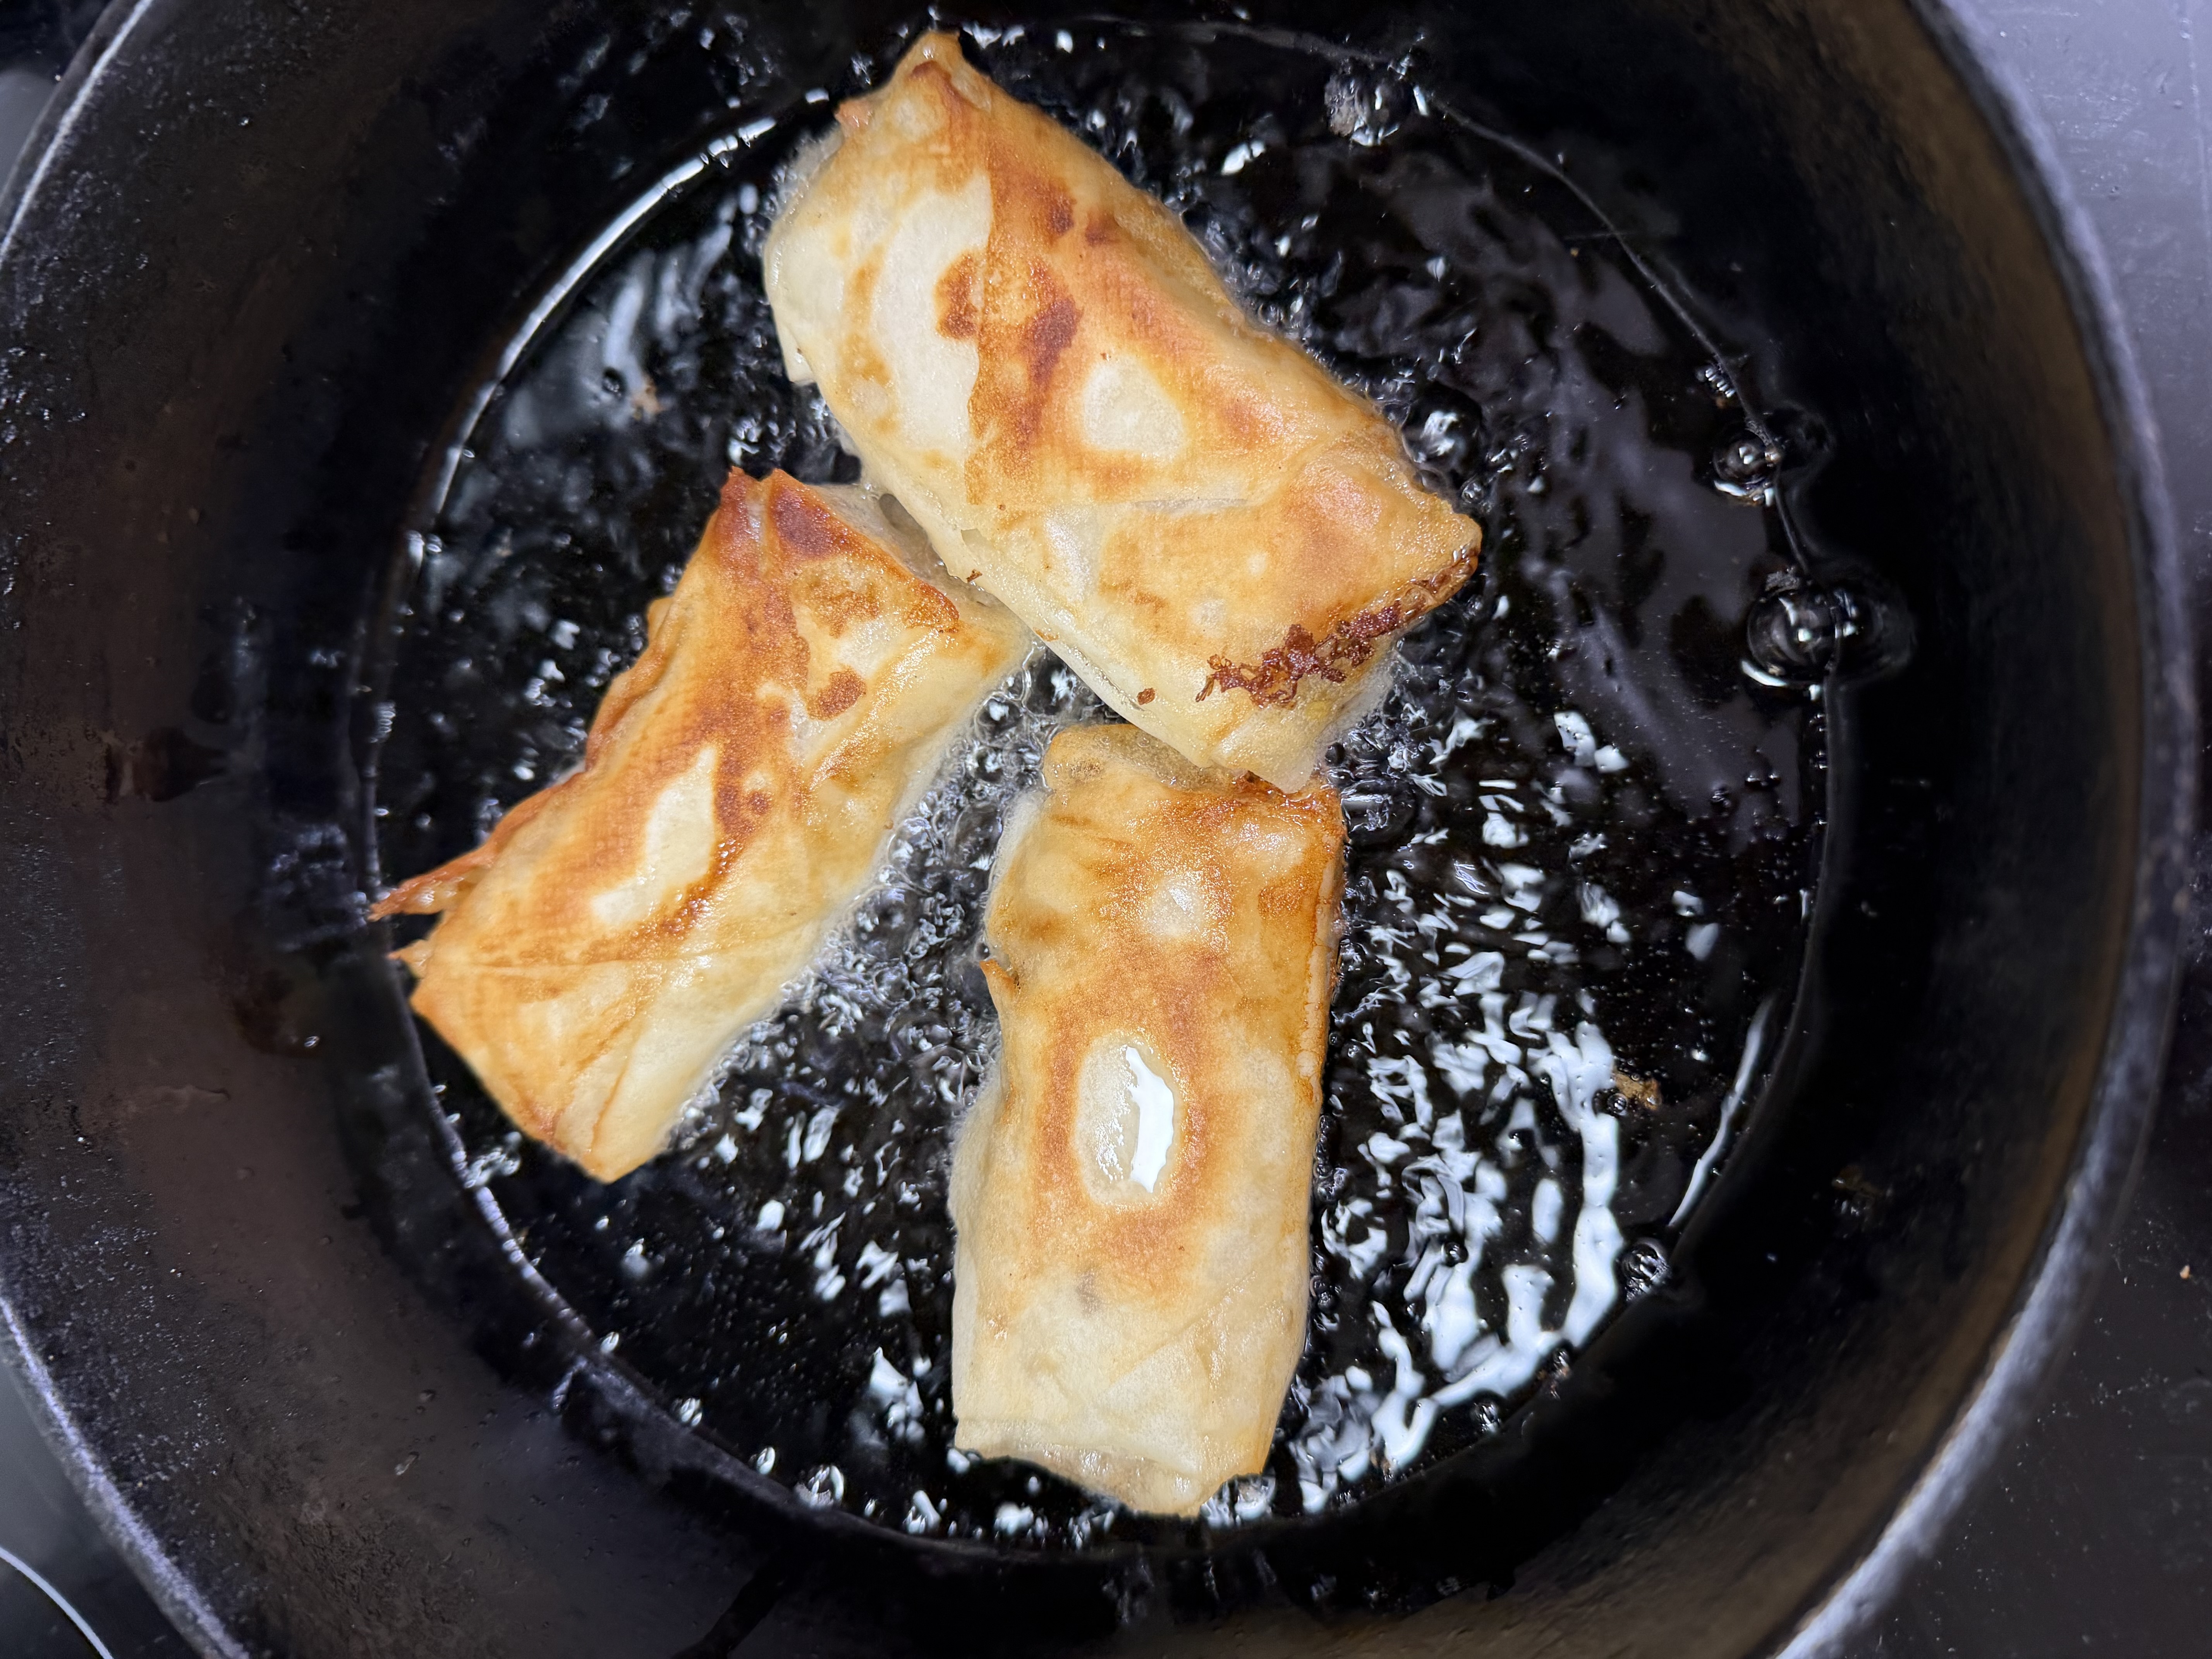
A fried, folded, utterly craveable appetizer built on a five-pound head of homegrown napa cabbage – and a freezer stash of filling that turns one afternoon of wok work into months of ready-to-roll dinners.
The Story
Our children went to a private Catholic grade school. The school had a big fundraiser every year with a silent auction, and one year a family friend purchased a package to learn how to make spring rolls with a group of friends. We hosted the gathering at our house, and that afternoon a houseful of us stood around the kitchen learning how to shred, stir-fry, roll, and fry proper Chinese spring rolls from scratch.
I didn’t know it at the time, but that fundraiser purchase would turn into a decade-plus family tradition. Years later my uncle Bill started growing napa cabbage for me. Each head weighs about 5 lbs – which is a lot of cabbage for one recipe – so spring roll season at our house means making a lot of the filling mix in one go. We freeze it in smaller portions to use later in the year, and we also freeze a batch of rolls that are already wrapped and ready to fry.
There’s something I love about the fact that this recipe didn’t come from a cookbook or a store display – it came from a room full of people who wanted to learn a skill together, taught by someone in our own community. No kit, no instructional video, no shrink-wrapped package of frozen egg rolls from the freezer aisle. Just a group of parents at a school fundraiser, willing to spend an afternoon teaching each other something new.
And every year when Uncle Bill hands over that five-pound head of napa cabbage, the tradition starts again – shredding, stir-frying, rolling, and stocking the freezer for the months ahead.
Key Details
Prep Time: 30 minutes | Cook Time: 15 minutes | Total Time: 45 minutes | Yield: 10 spring rolls
Sustainability Note: This recipe is a quiet sustainability triple-play. The napa cabbage comes from Uncle Bill’s garden, not a produce truck – zero food miles, zero plastic clamshell, zero supply chain between the ground and my kitchen. Batch-cooking the filling and freezing it in smaller portions means one round of wok heat and prep labor delivers several future meals instead of starting from scratch every time a spring roll craving hits. And the skill itself was passed hand-to-hand at a community fundraiser rather than bought as a kit – which is its own kind of sustainable: knowledge that doesn’t come in packaging at all.
The Recipe
Ingredients
Filling & Wrappers:
| Amount | Ingredient |
|---|---|
| 4 oz | Ground pork |
| 1 medium | Carrot, peeled and shredded |
| 1 bunch | Green onions, diced |
| 1/4 cup | Bean sprouts, rinsed and drained |
| 1/2 cup | Bamboo shoots, finely shredded |
| 2 cups | Napa cabbage, shredded |
| 1 tbsp | Fresh ginger, minced |
| 1 tbsp | Soy sauce |
| 2 tbsp | Chinese rice wine |
| 1 tbsp | Five Spice powder |
| 1 tsp | Chicken bouillon |
| 1 tbsp | Sesame oil |
| 1 tbsp | Cornstarch |
| 10 | Spring roll wrappers |
| As needed | Oil, for stir-frying and deep frying |
Flour Paste (for sealing):
| Amount | Ingredient |
|---|---|
| 1 tbsp | All-purpose flour |
| 2 tbsp | Water |
Instructions
-
Prepare vegetables:
- Peel and shred the carrot
- Finely shred the bamboo shoots
- Dice the green onions
- Rinse the bean sprouts and drain thoroughly
- Shred the cabbage
-
Make sauce mixture:
- In a small bowl, combine soy sauce, rice wine, Five Spice powder, chicken bouillon, and cornstarch
- Set aside
-
Cook pork:
- Heat wok over medium-high heat
- Add 2 tablespoons oil
- Add ground pork and stir-fry until nearly cooked through
- Remove pork and clean out the wok
-
Cook vegetables:
- Add 2 tablespoons oil to wok
- Add minced ginger and stir-fry until aromatic
- Add all the vegetables and stir-fry
- Cover the wok for about 10 minutes
-
Combine and finish filling:
- Push vegetables to the sides of the wok
- Add the sauce mixture in the middle, stirring constantly
- Mix everything together, including the pork
- Spoon filling into a colander to drain
- Allow the filling to cool completely
-
Prepare for frying:
- Heat oil for deep frying to 360-375°F
- Make flour paste by mixing 1 tbsp flour with 2 tbsp water
-
Roll spring rolls:
- Lay one spring roll wrapper in front of you
- Add 2 tablespoons of filling in the bottom half
- Take the bottom edge and wrap over the filling
- Tuck in the 2 side edges
- Continue rolling up
- Seal the edges with the flour paste
-
Fry:
- Deep-fry the spring rolls until golden brown and crispy
- Cook in batches, taking care not to overcrowd the wok
- Remove with a slotted spoon and drain on paper towels
-
Serve hot
Why This Recipe
A homegrown ingredient with a name attached. Most spring roll recipes call for a head of napa cabbage from the grocery store, shrink-wrapped and shipped in from wherever. Ours comes from Uncle Bill’s garden. He grows it specifically for this recipe, and each head weighs about 5 pounds – which means every batch of filling I make traces back to a specific person and a specific patch of dirt, not a supply chain.
Batch cooking is the whole strategy. Because Uncle Bill hands over that much cabbage at once, I’ve never made a “single batch” of this filling in my life. I make a lot, and I freeze it in smaller portions – some plain filling, some already rolled and ready to fry. One afternoon of wok work and cleanup delivers spring rolls for months, which means far less energy spent firing up the stove and heating frying oil every single time the craving hits.
Skill-sharing instead of store-bought. This recipe exists because a group of parents at a school fundraiser decided to spend an afternoon teaching each other how to make something from scratch, together, in our kitchen. That’s a different kind of resource than a recipe card or a store display – it’s a skill that lives in the people who know it, and it gets passed on for free every time we teach someone else.
No shrink-wrapped freezer aisle needed. Once you’ve made this filling yourself, there’s very little reason to buy the frozen, pre-made egg rolls at the store – with their individual plastic sleeves and cardboard boxes. A homemade batch, frozen flat on a cookie sheet and bagged, does the same job with none of that packaging.
Notes & Variations
- Baking alternative: We have baked these in the oven instead of deep frying as a healthier option – the filling stays just as flavorful, you simply trade the crispy fried exterior for a lighter, less oily one
- Filling without wrappers: The filling can be served over rice without rolling in wrappers at all – a fast weeknight option when you don’t have time to roll and fry
- Make ahead: The filling can be made ahead and frozen in smaller portions for later use, which is exactly how we handle the volume that comes with a 5-lb head of napa cabbage
- Freezing tip: Pre-freeze rolled (uncooked) spring rolls on cookie sheets before transferring them to storage containers or bags – this keeps the rolls from sticking together in one solid block
- Serving: Serve with sweet and sour sauce, Worcestershire sauce, or your favorite dipping sauce
Gluten-Free Notes:
- This recipe is not gluten-free as written – traditional spring roll wrappers are made with wheat flour, and we have not tested this with GF wrappers
- For a strict gluten-free version, skip the wrapping step entirely and serve the filling over rice or quinoa instead – the flavor is the same, just without the wrapper
- If you do experiment with GF spring roll wrappers, note that we haven’t tested them here, so treat that as an untested substitution rather than a guaranteed swap
Additional notes from our kitchen:
- Cabbage math: A 5-lb head of napa cabbage makes a lot more filling than the 2 cups called for in a single batch of this recipe – plan to multiply the whole recipe out and freeze the extra in portions
- Clean the wok between steps. The recipe calls for cleaning the wok after cooking the pork and before cooking the vegetables – don’t skip this, it keeps the vegetables from picking up burnt bits from the meat
- Drain thoroughly before rolling. Spooning the finished filling into a colander and letting it cool completely isn’t optional – filling that’s still wet or warm will blow out your wrappers when you try to roll them
- Oil temperature matters. Keep the frying oil steady at 360-375°F. Too cool and the wrappers absorb oil and turn greasy instead of crisp; too hot and they brown before the filling inside is heated through
Serving Suggestions
- Serve hot with sweet and sour sauce, Worcestershire sauce, or your favorite dipping sauce
- Spoon the filling over steamed rice for a fast, wrapper-free version of the same flavors
- Set out a platter as an appetizer for a crowd – they disappear fast
- Pair with a simple cucumber salad for a lighter meal alongside the fried rolls
Storage & Make-Ahead
- Filling: Freeze in smaller portions for up to 3 months
- Rolled (uncooked): Pre-freeze on cookie sheets, then transfer to freezer bags for up to 2 months
- Cooked: Best eaten immediately, but can be refrigerated for 1-2 days and reheated in the oven
Links & References
- Source: Seely Family Recipe Collection
- Related: Butter Chicken | Aloo Gobi | Rajma | Mom’s Thai Curry
Coming Soon:
- Egg Roll Soup – built on this exact spring roll filling mix, according to the family recipe’s own notes. Add 2 cups of the filling to a simple broth and you’ve got all the same flavors in soup form.
Print This Recipe
Click here to print this recipe or use your browser’s print function (Cmd+P on Mac, Ctrl+P on Windows).
Chinese Spring Rolls Prep: 30 min | Cook: 15 min | Yield: 10 spring rolls
Filling & Wrappers:
- 4 oz ground pork
- 1 medium carrot, peeled and shredded
- 1 bunch green onions, diced
- 1/4 cup bean sprouts, rinsed and drained
- 1/2 cup bamboo shoots, finely shredded
- 2 cups napa cabbage, shredded
- 1 tbsp fresh ginger, minced
- 1 tbsp soy sauce
- 2 tbsp Chinese rice wine
- 1 tbsp Five Spice powder
- 1 tsp chicken bouillon
- 1 tbsp sesame oil
- 1 tbsp cornstarch
- 10 spring roll wrappers
- Oil, as needed for stir-frying and deep frying
Flour Paste (for sealing):
- 1 tbsp all-purpose flour
- 2 tbsp water
Instructions:
- Shred and prep all vegetables
- Combine soy sauce, rice wine, Five Spice, bouillon, and cornstarch for the sauce
- Stir-fry pork, remove, clean wok
- Stir-fry ginger, add vegetables, cover and cook about 10 minutes
- Add sauce mixture, combine with pork, drain in a colander, and cool completely
- Heat frying oil to 360-375°F; mix flour paste
- Fill and roll wrappers, sealing edges with flour paste
- Deep-fry until golden and crispy; drain on paper towels
- Serve hot
Storage: Filling freezes up to 3 months; rolled uncooked freezes up to 2 months (pre-freeze flat); cooked best eaten immediately, or refrigerated 1-2 days and reheated in the oven.
Some recipes come from cookbooks. This one came from a room full of people willing to teach each other something new – and it’s been feeding our family ever since.