For the price of a few seed packets, you can grow dozens of plants at home—and finally get the varieties you actually want.
The Story
Every spring, garden centers fill up with tomato and pepper transplants. They’re usually $3-6 each, they come in plastic pots you throw away, and you’re limited to whatever varieties the store decided to stock. Roma, cherry, and beefsteak. Maybe a jalapeño and a bell pepper. That’s it.
I started growing from seed because I wanted more options—and because the math made sense. One seed packet grows 20-50+ plants for the price of a single garden center transplant. Over the years I’ve gone from a table by a sunny window to grow lights in the basement to a full grow tent. Each upgrade taught me something, and I’ll walk through all of it here so you can start wherever makes sense for you.
Key Details
Zone: 4b (rural Wisconsin) | Last Frost: ~May 15 | Start Date: 6-8 weeks before last frost
Sustainability Note: Starting from seed gives you access to varieties bred for your specific conditions rather than mass-market appeal. One seed packet grows 20-50+ plants for the price of a single transplant. And if you reuse pots from previous garden center purchases (wash them between seasons), you’re keeping plastic out of the landfill too.
Why Start Indoors?
Some seeds need warmth and time. Tomatoes, peppers, eggplant, and basil need soil temperatures of 70-85°F to germinate. They also need a long head start. In Zone 4b, our growing season is about 138 days—and a pepper plant that needs 75 days to maturity can’t afford to wait until late May to start from a seed in the ground.
Starting these crops indoors gives them a 6-8 week head start. By the time they go outside after the last frost, they’re established seedlings ready to grow and produce.
Not everything needs to be started indoors, though. Here’s a general guide for what goes where:
Indoor vs. Other Methods
| Method | Best For | Why |
|---|---|---|
| Start indoors | Tomatoes, peppers, eggplant, basil | Need warmth to germinate, need a long season |
| Winter sow | Cold-hardy flowers, lettuce, kale, broccoli, herbs like dill and cilantro | Thrive with natural cold stratification, no hardening off needed |
| Direct sow | Beans, peas, cucumbers, zucchini, corn, radishes, carrots | Fast growers or don’t transplant well |
You don’t have to do all of these. Start with what you eat most and expand from there.
The Setup: What You Actually Need
Level 1: A Sunny Window
The very first time I started seeds, it was just a table by a large sunny window. No grow lights, no special equipment—just seeds, soil, and sunlight. It worked, but the seedlings were leggier than I wanted. They were straining for light.
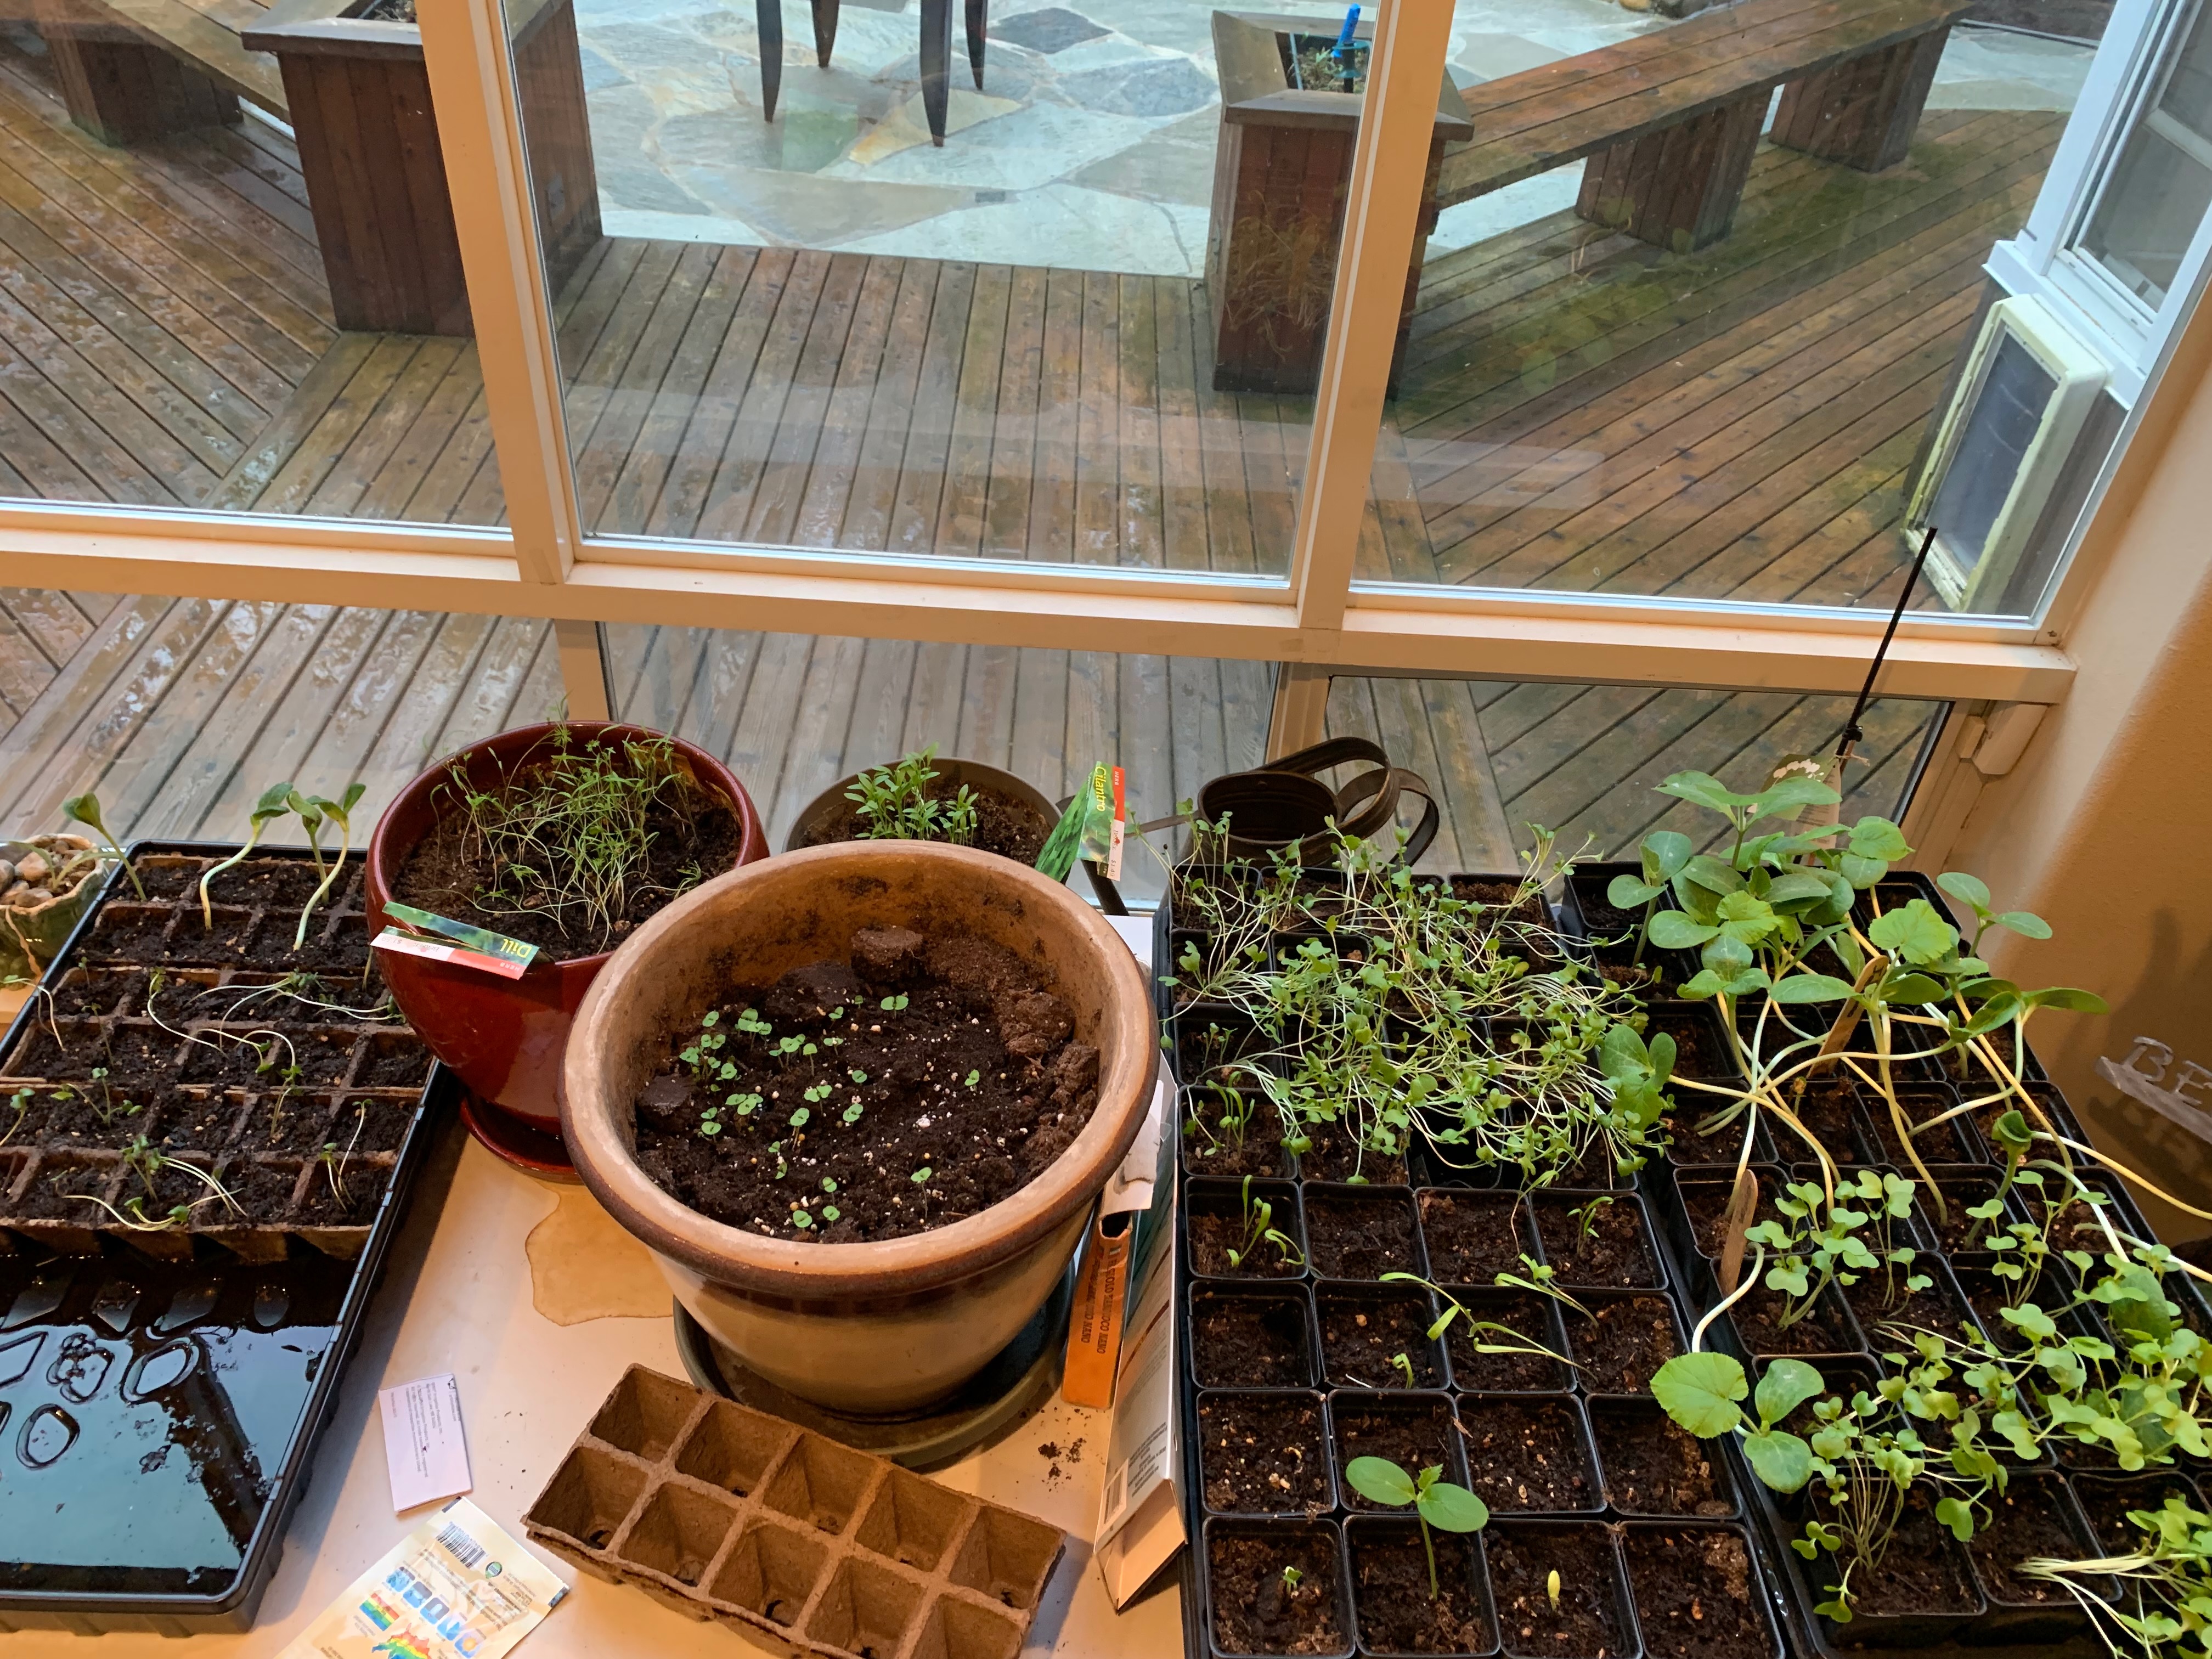
A sunny window is enough to get started. You’ll learn a lot your first season, and you can upgrade from there.
Level 2: Grow Lights on a Table
Adding grow lights was the single biggest improvement I made. Better light meant stockier, stronger seedlings—immediately. You can start seeds with:
- A table or shelf near an outlet
- LED grow lights (shop lights work, dedicated grow light panels are better)
- A timer (set it and forget it—16 hours on, 8 hours off)
- Seed starting trays or reused pots
- Seed starting mix
- A heating pad under the trays (peppers and tomatoes need soil warmth of 70-85°F to germinate)
Level 3: Grow Tent
A grow tent with wire shelving takes it further. The tent’s reflective interior walls bounce light back onto plants from all angles, so you get better coverage from the same lights. It also contains the mess—soil, water drips, and stray leaves stay inside the tent.
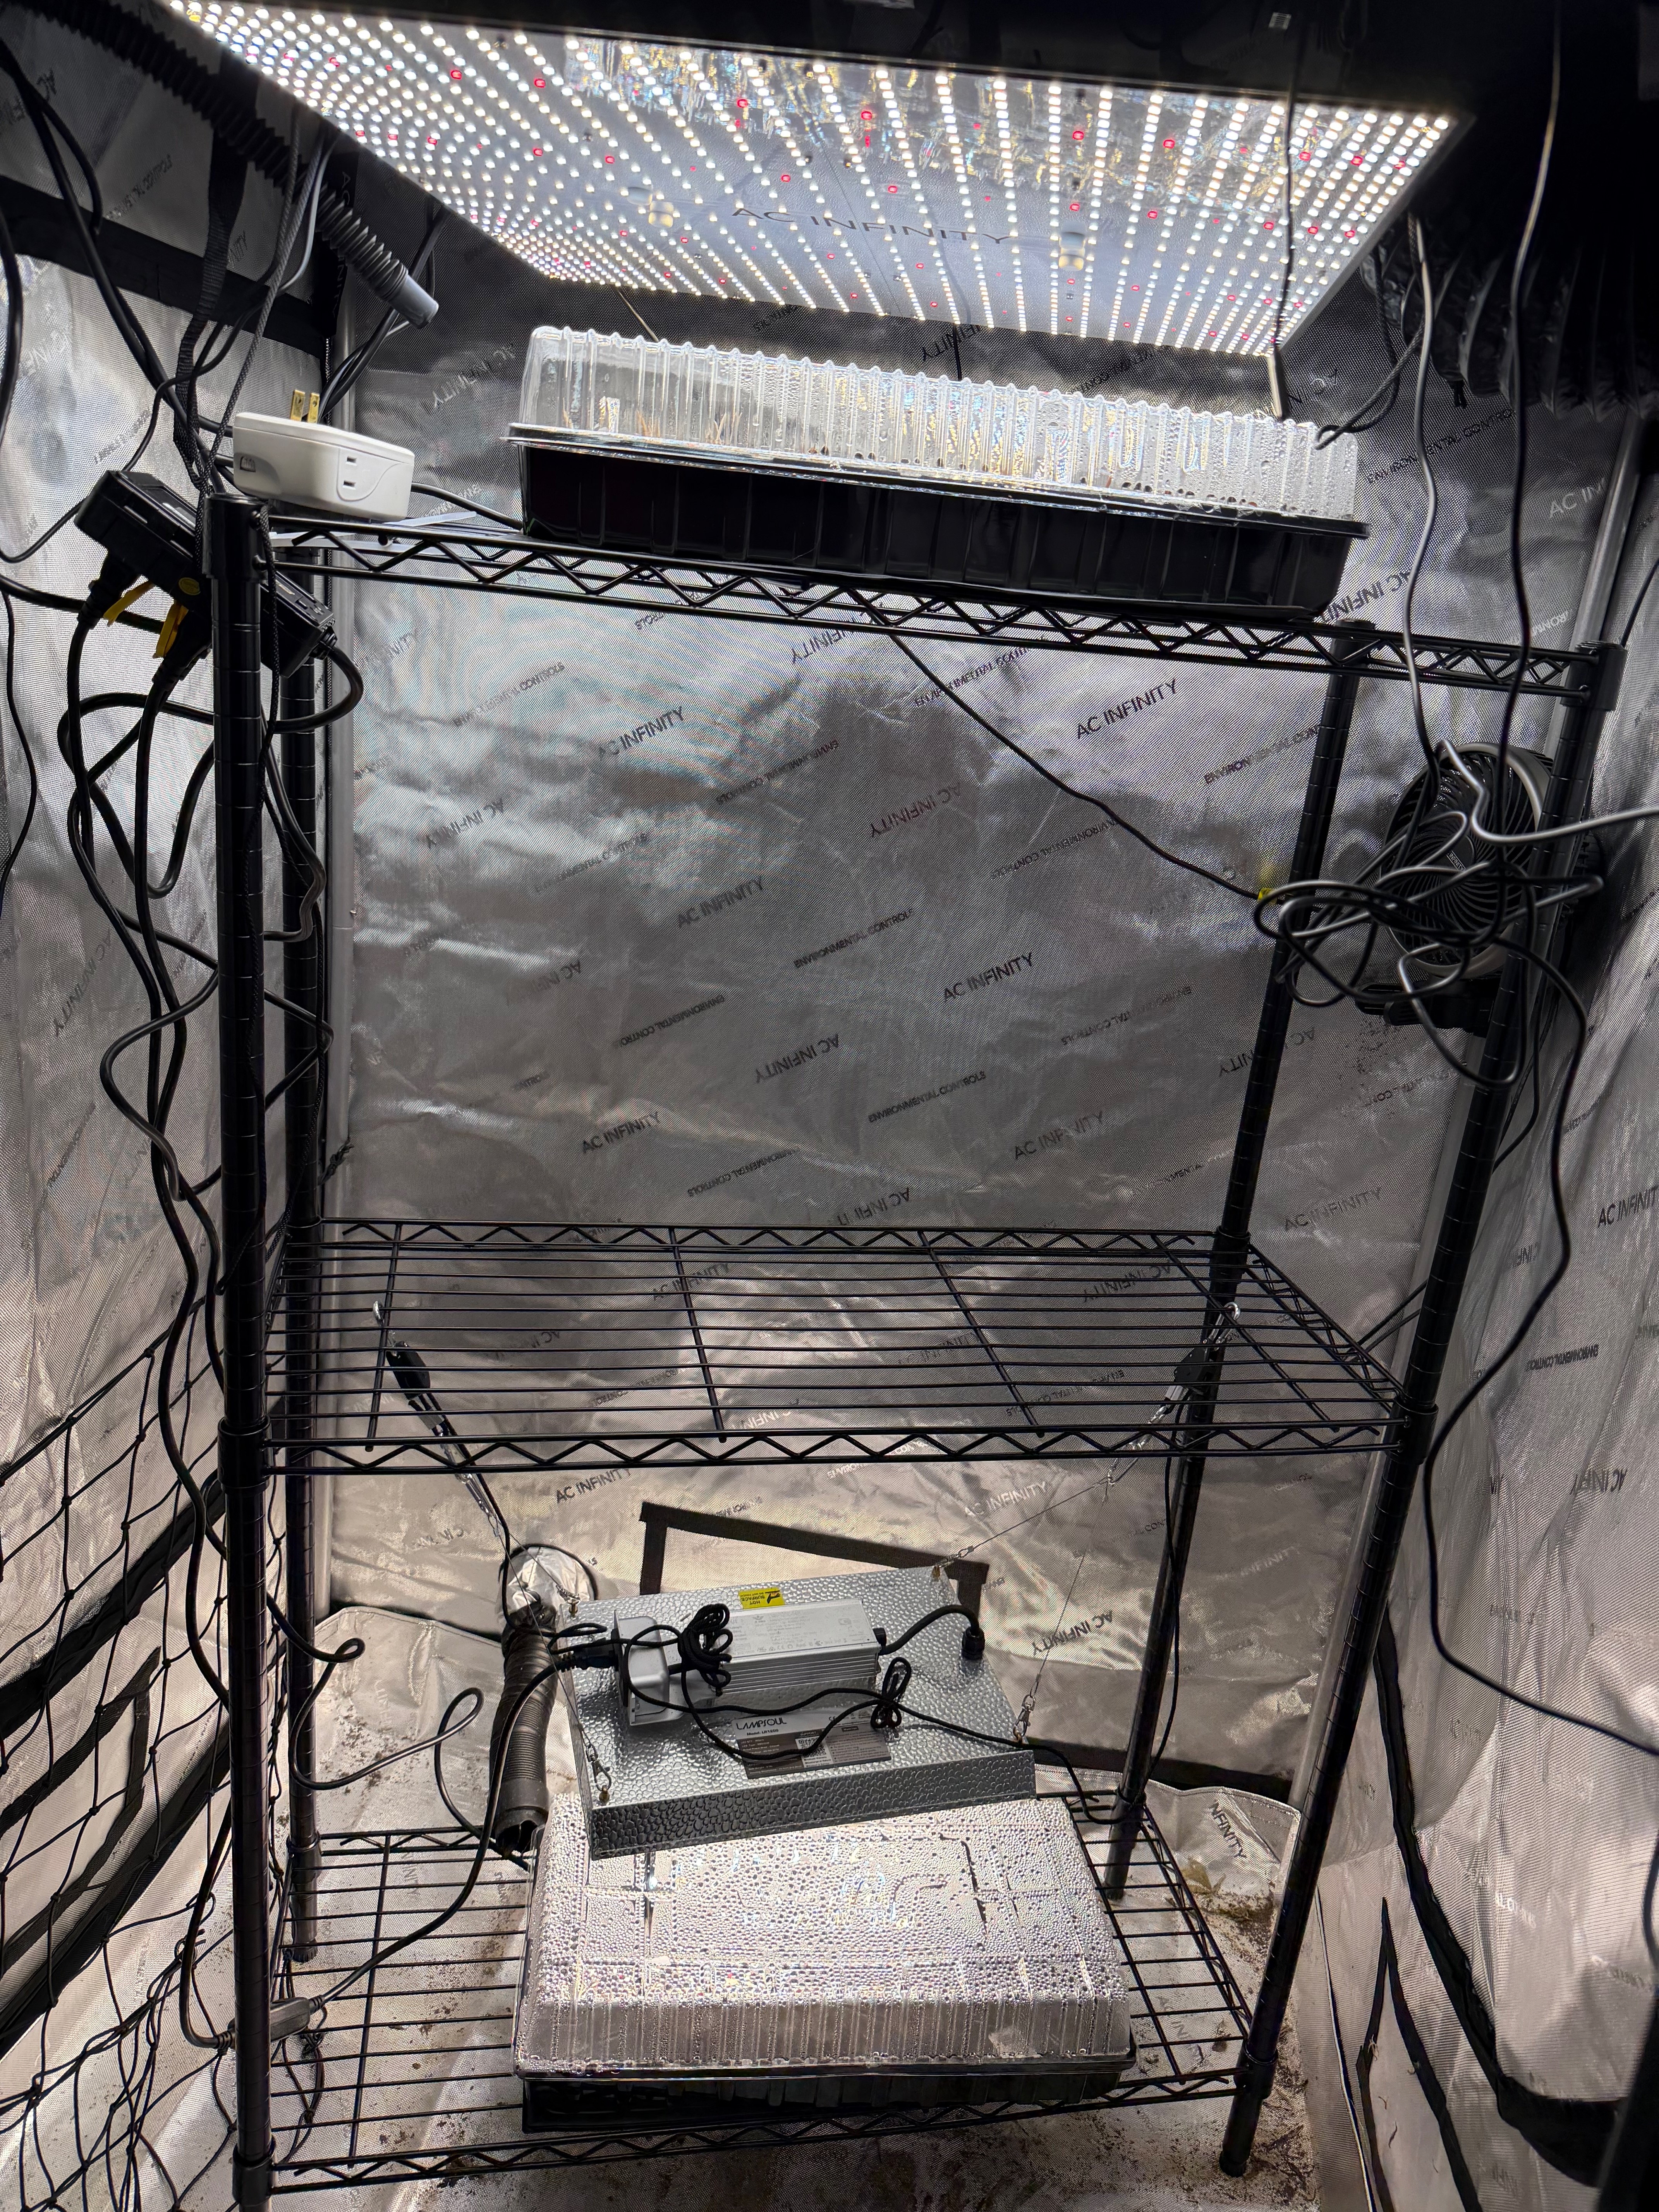
Is a grow tent necessary? No. But better light from every direction means stockier, sturdier seedlings—especially for tomatoes, which tend to get leggy.
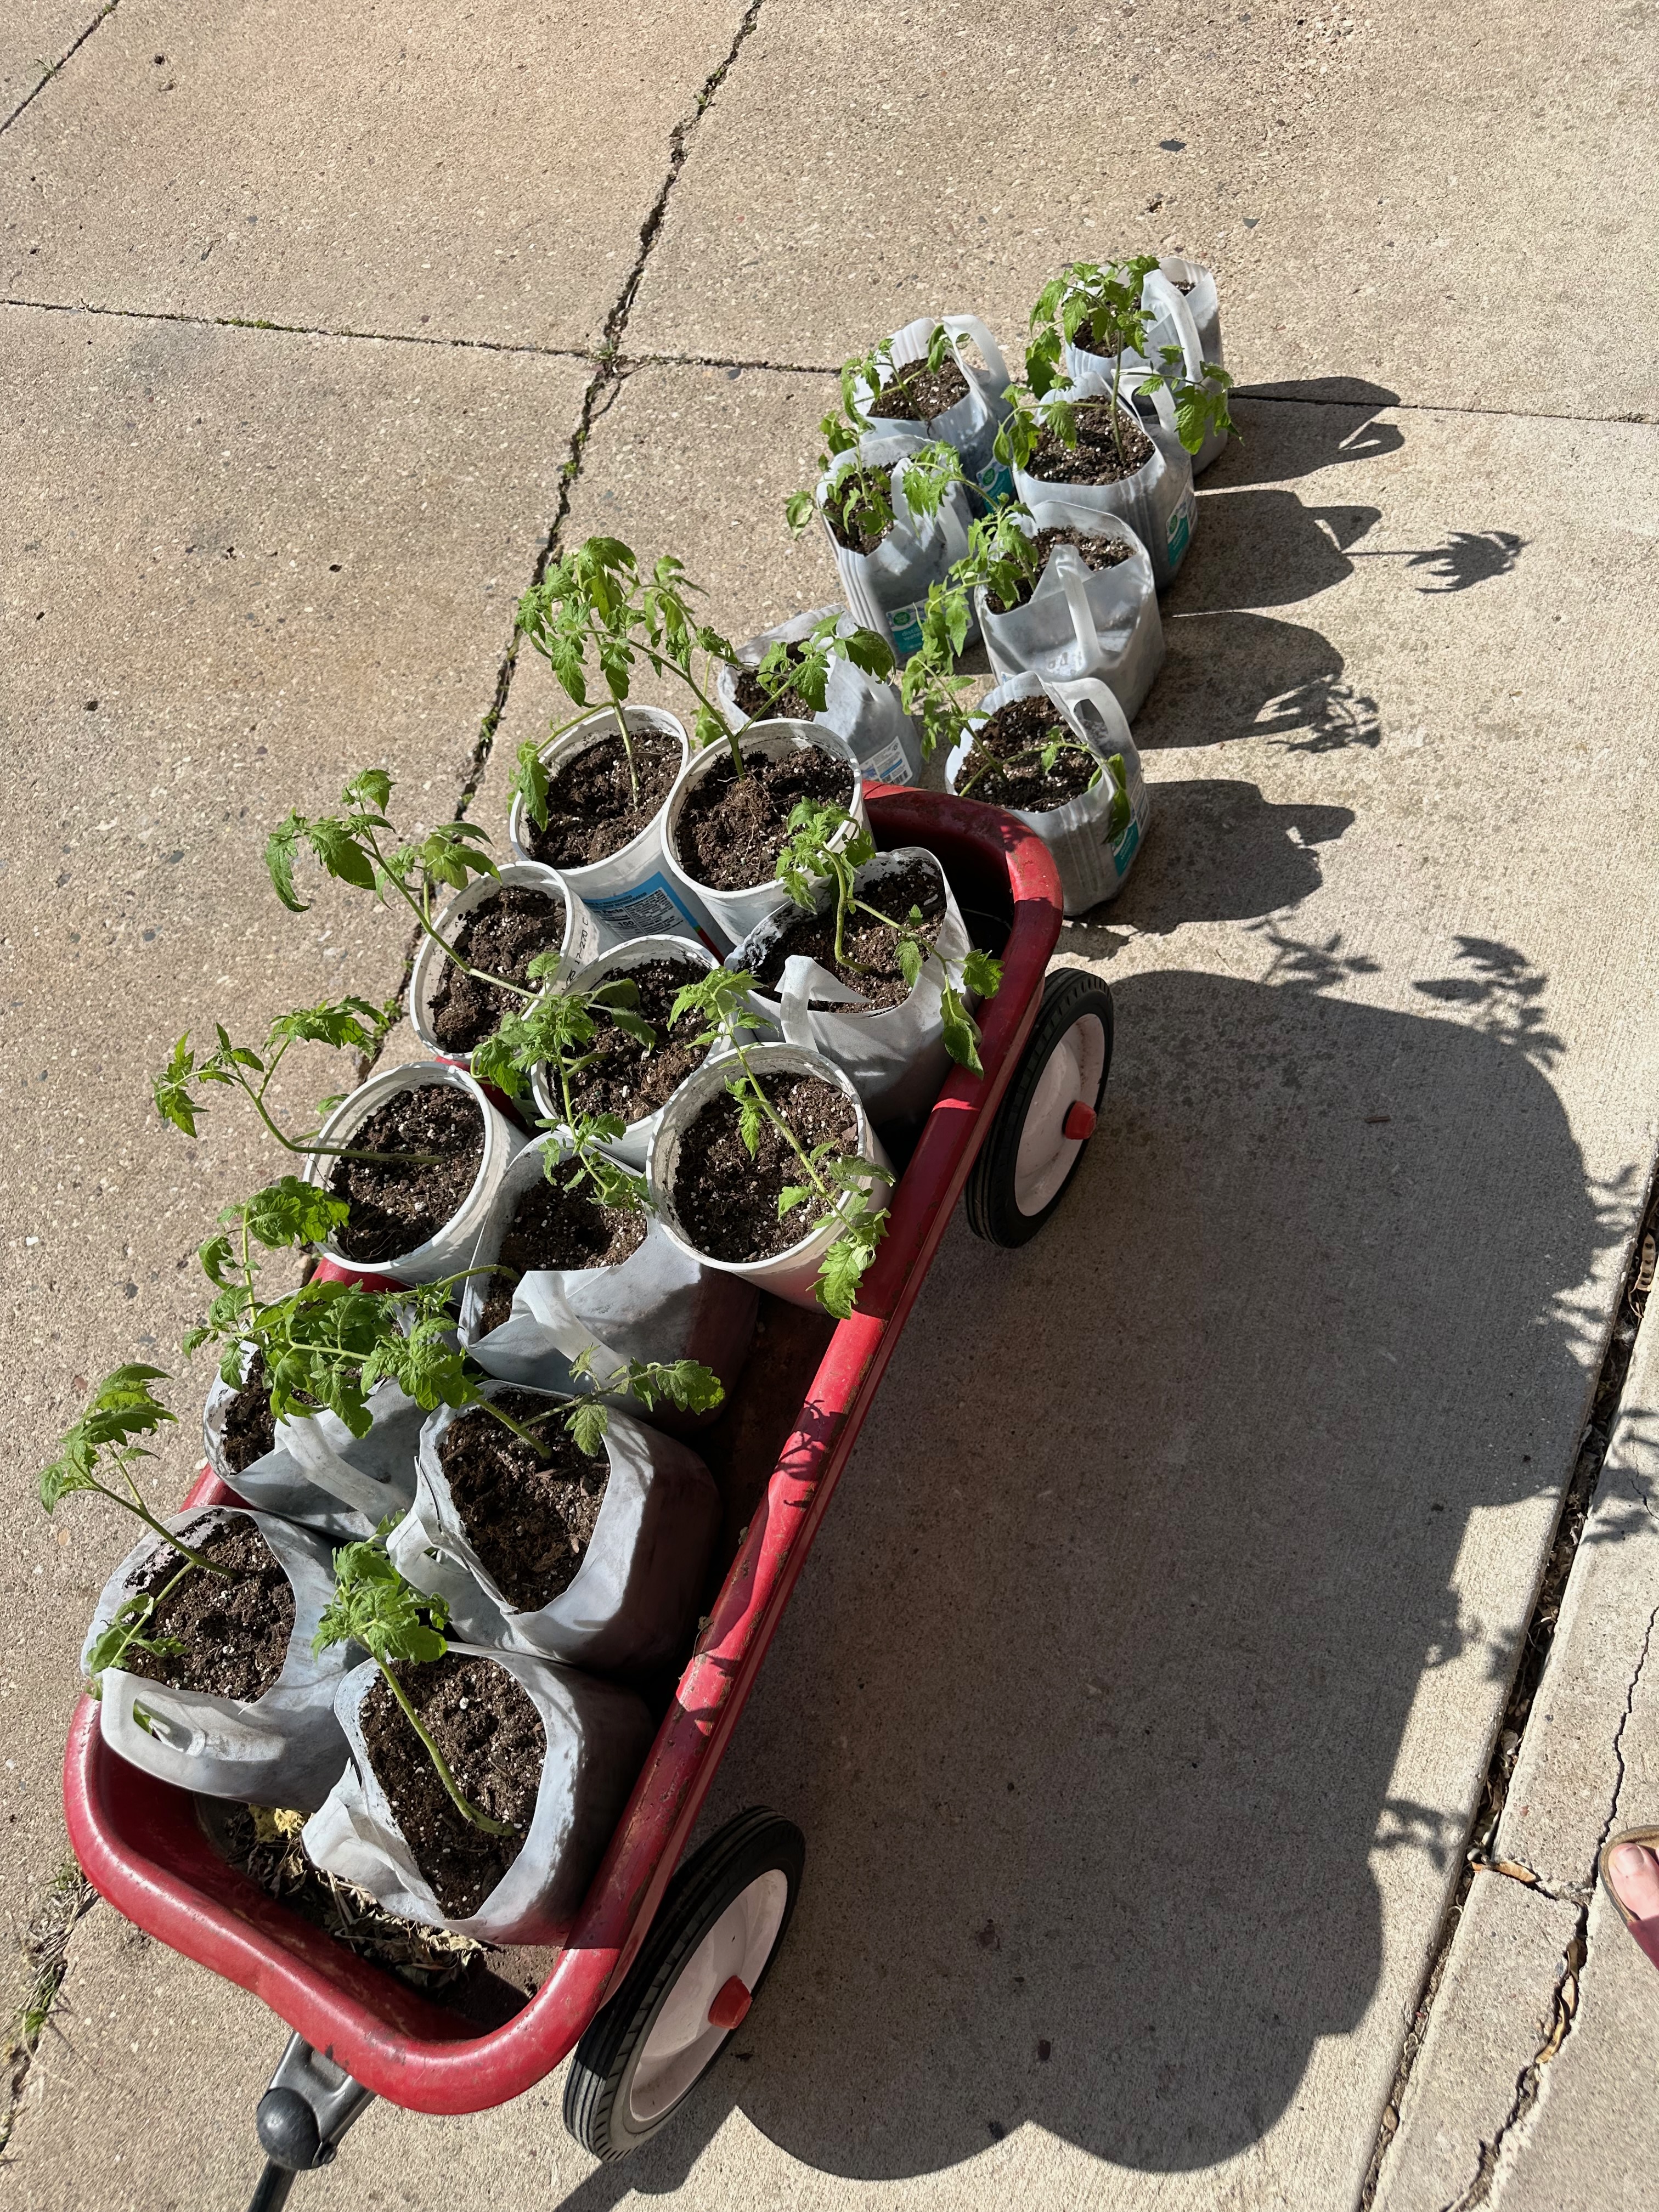
Reusing Pots
I save plastic pots from garden center purchases and reuse them for starting seeds. They work perfectly—and they’re free. The key: wash them between seasons. Old soil residue can harbor disease. I scrub them out, let them dry, and store them until I need them again. Every pot I reuse is one less piece of plastic in the trash.
The Timeline: Zone 4b Wisconsin
Working backward from our last frost date of approximately May 15:
| Date | Action |
|---|---|
| January-February | Review last year’s notes, decide what to grow, order seeds |
| March 15-April 1 | Start tomatoes and peppers indoors (6-8 weeks before last frost) |
| April 1-15 | Start basil, eggplant, and other warm-season herbs |
| Late April | Begin hardening off seedlings |
| May 1-7 | Harden off intensively—increasing outdoor exposure each day |
| May 15-25 | Transplant to garden after last frost (watch the forecast) |
Counting Backward
This is the most important concept. Look at the seed packet for “start indoors X weeks before last frost.” Count backward from your last frost date.
For Zone 4b with a May 15 last frost:
- 8 weeks before = March 15
- 6 weeks before = April 1
- Peppers are slow growers—start them 8 weeks out
- Tomatoes do well at 6-8 weeks
- Basil only needs 4-6 weeks
Start too early and seedlings get overgrown and root-bound before they can go outside. Start too late and you lose precious growing days.
Step by Step
1. Fill and Plant
Fill trays or reused pots with damp seed starting mix. Seed starting mix is lighter and finer than regular potting soil, which matters for tiny seeds. Plant seeds at the depth on the packet—usually 2-3 times the seed’s diameter. For tiny seeds like basil, press them into the surface.
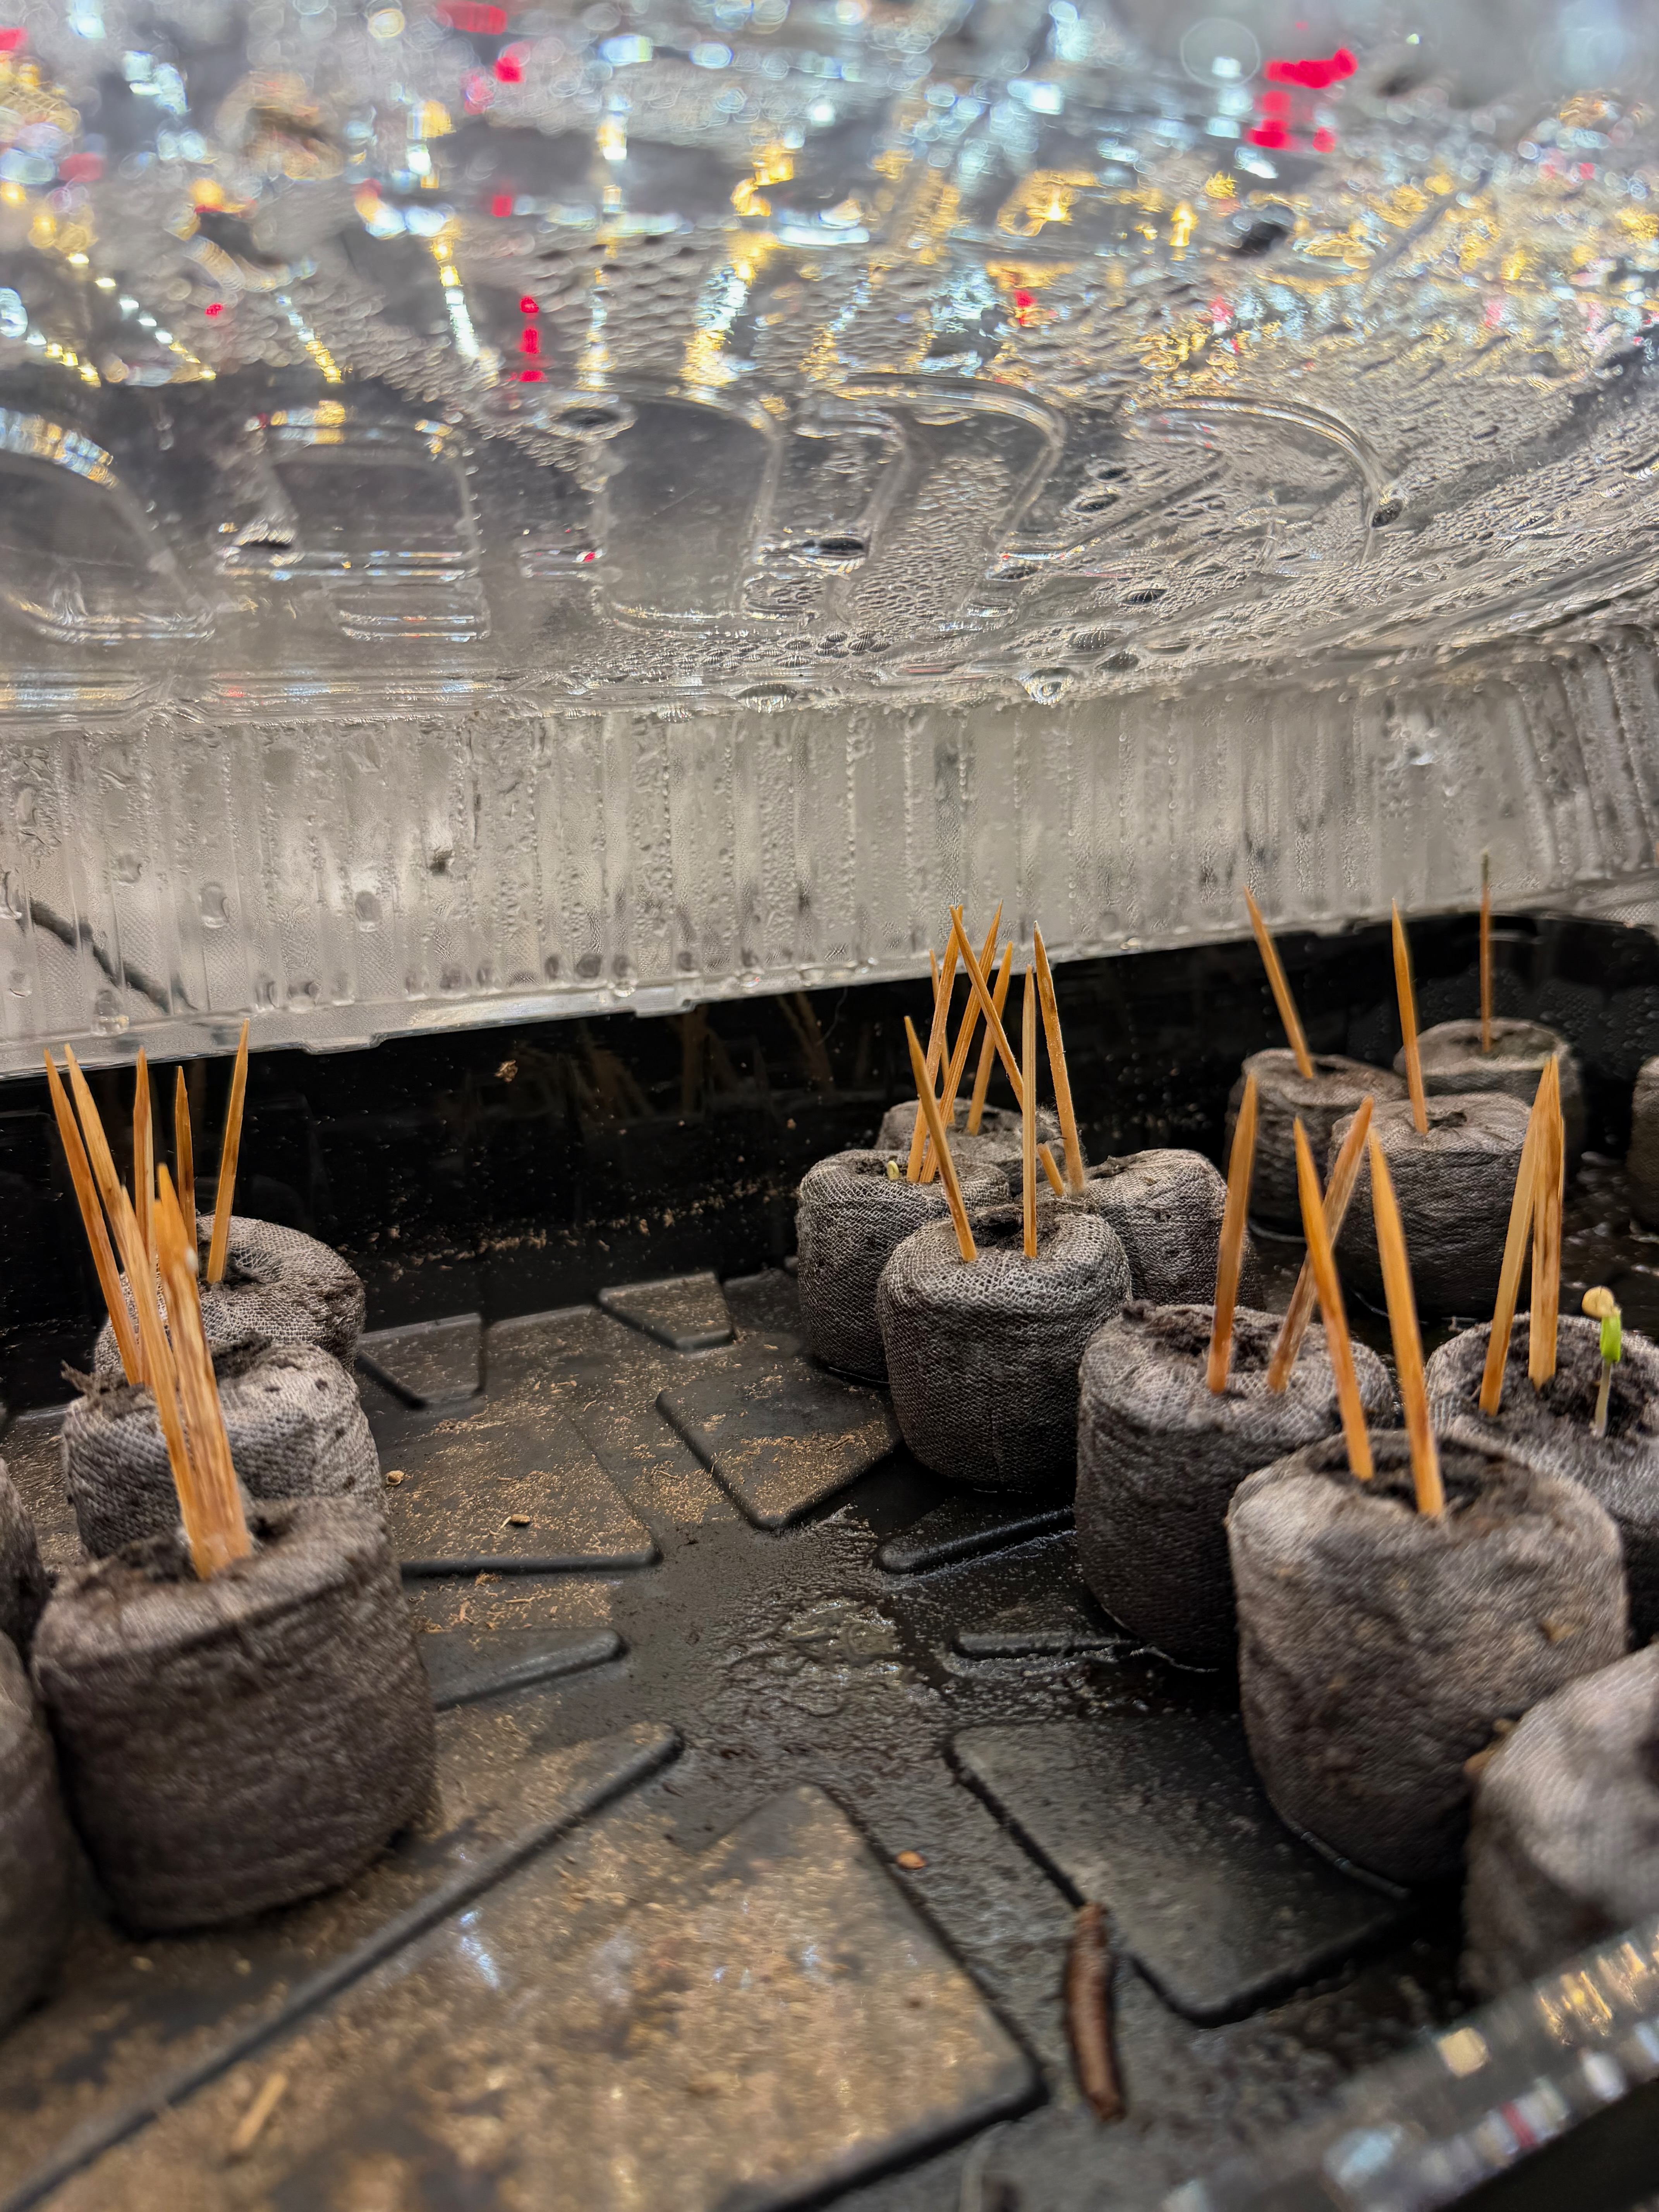
Label everything immediately. You think you’ll remember which tray is which. You won’t. I’ve made that mistake too many times—this year I’m using toothpicks in each pot to tell pepper varieties apart.
2. Water and Cover
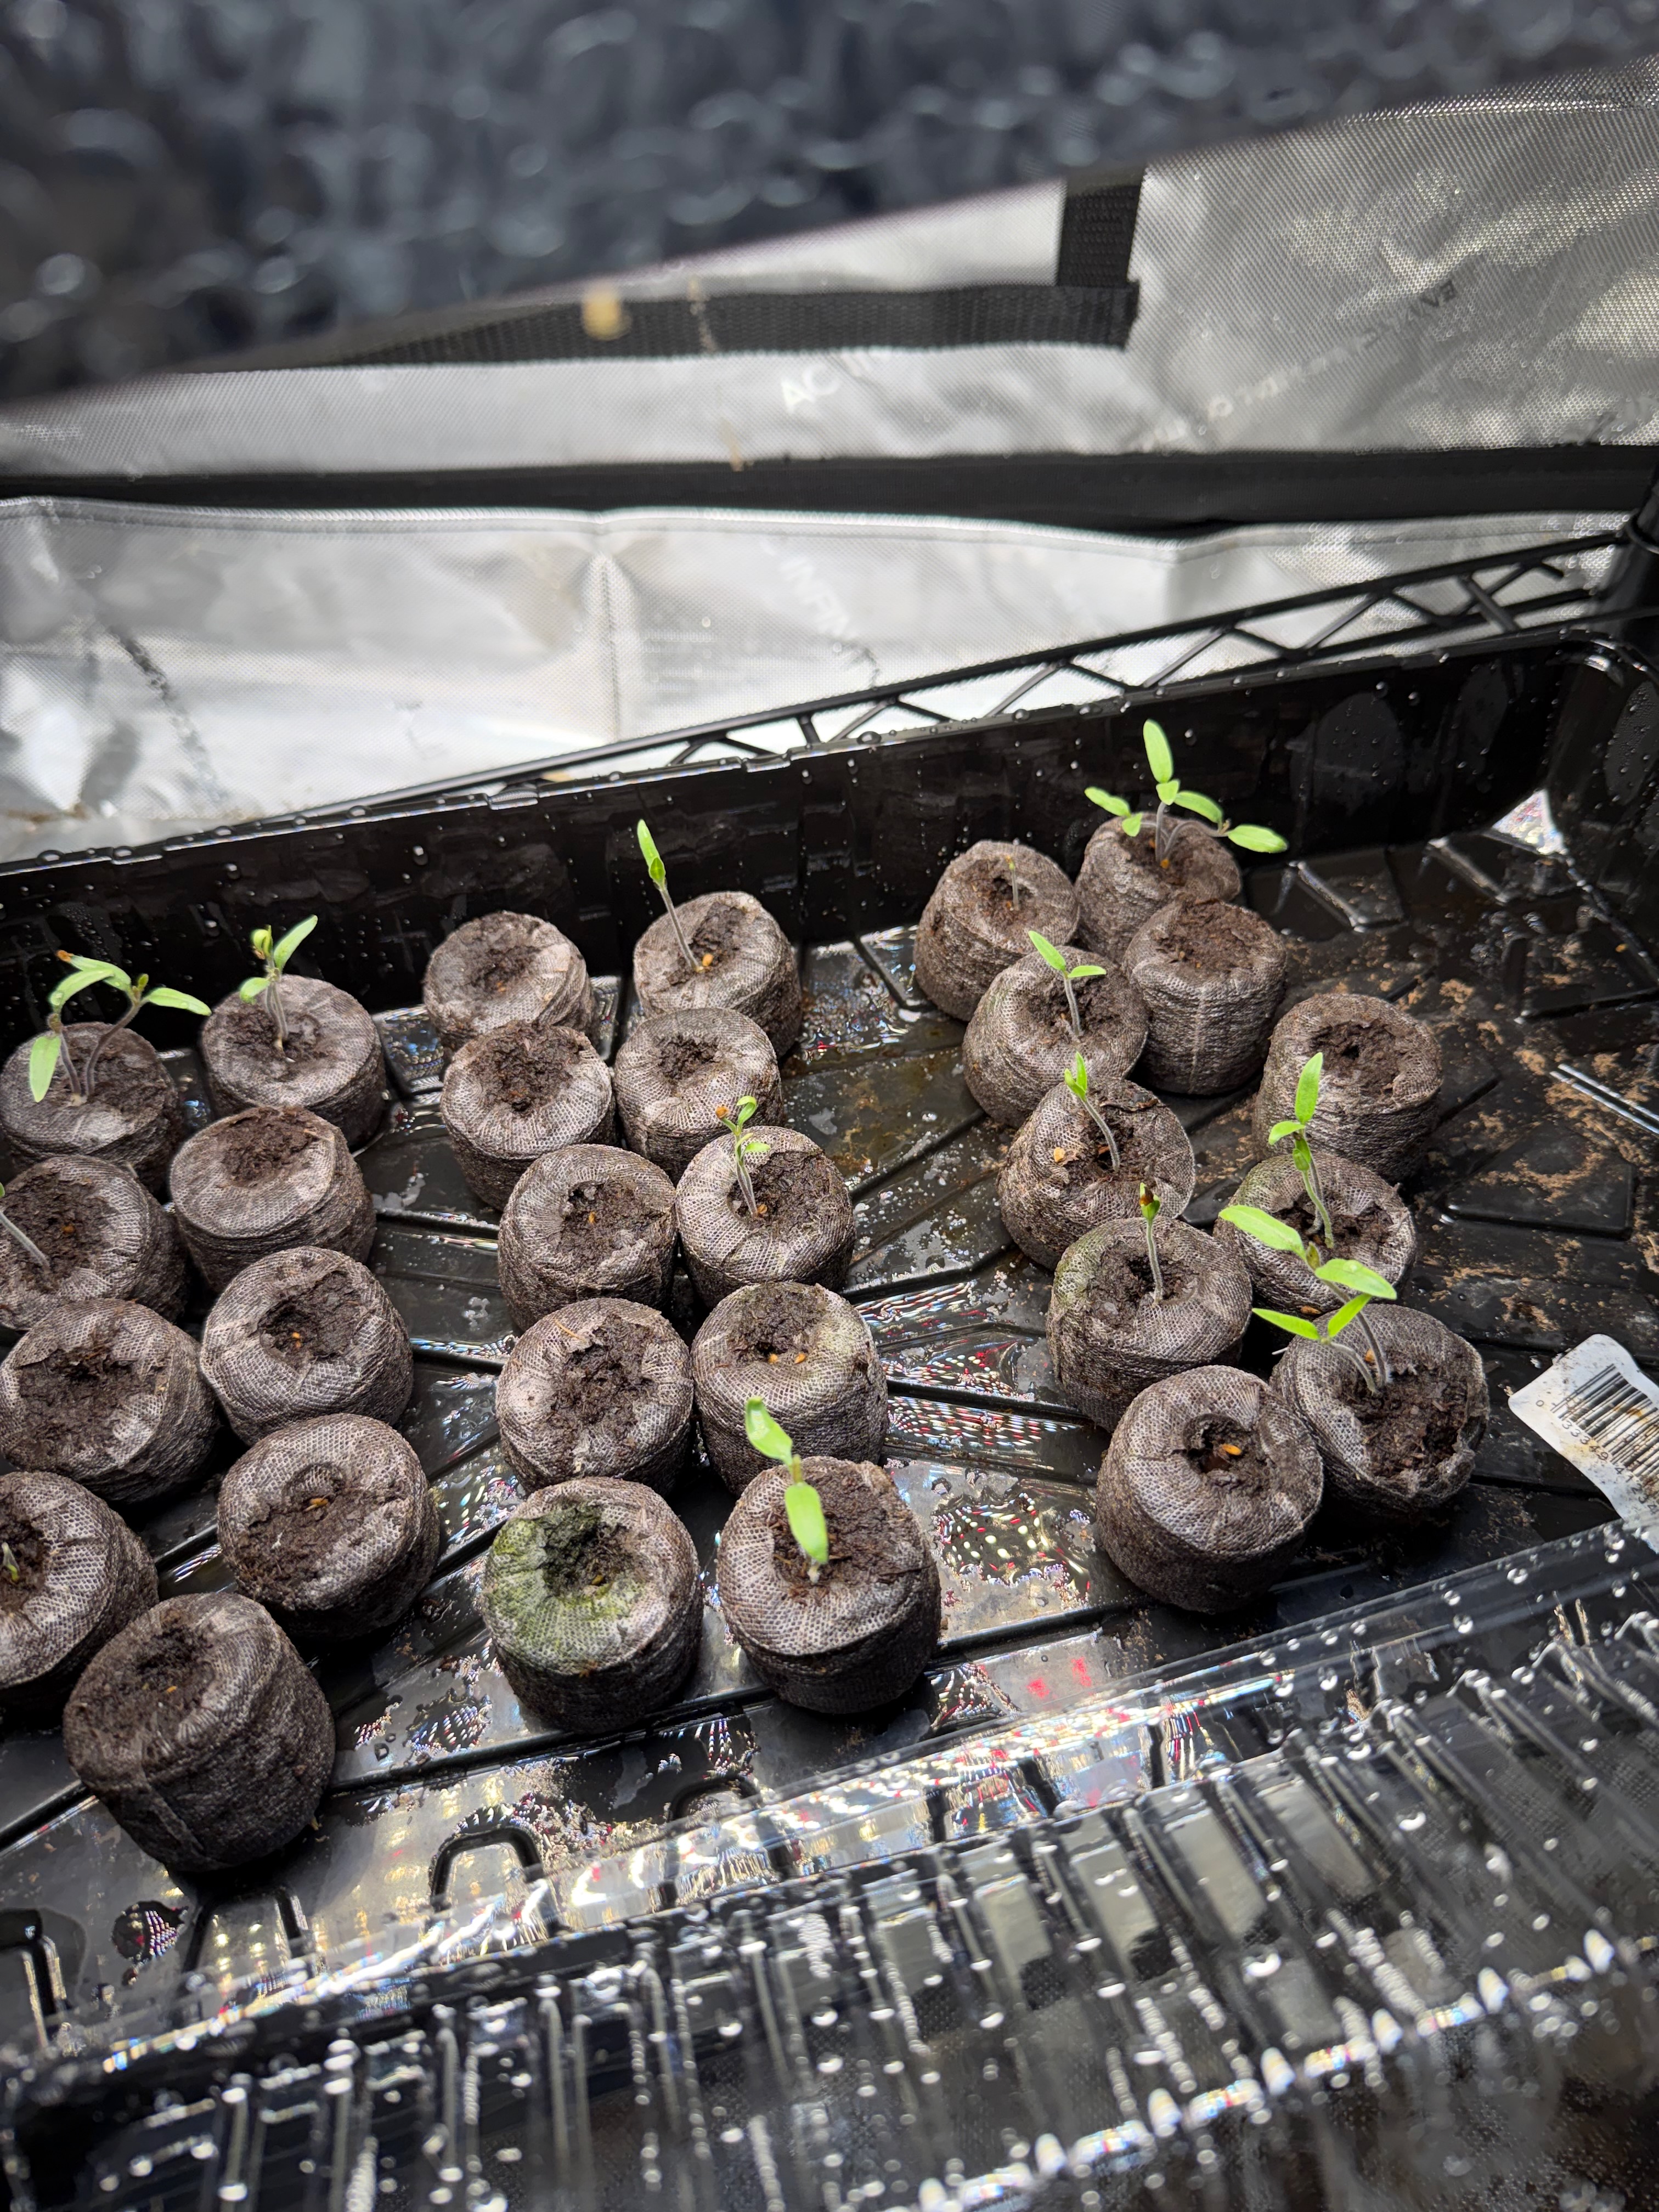
Mist the surface with a spray bottle. Cover trays with a humidity dome or plastic wrap until seeds germinate. This keeps moisture consistent, which is the most critical factor for germination.
Once you see sprouts, remove the cover. Seedlings need air circulation to prevent damping off—a fungal disease that kills seedlings right at the soil line.
3. Light
Turn on grow lights as soon as seeds sprout. Set the timer: 16 hours on, 8 hours off. Keep lights 2-4 inches above the seedlings and raise them as the plants grow.

The most common beginner mistake: lights too far from seedlings. Seedlings stretch toward light, and if it’s too far away, they get leggy—tall, thin, weak stems that can’t support the plant. If your seedlings are leaning or stretching, move the lights closer.
4. Water Consistently
Water when the top of the soil feels dry. Not before. Overwatering causes damping off and root rot. Underwatering kills seedlings that rarely recover.
Bottom watering works well: set trays in a shallow pan of water and let the soil absorb moisture from below. This encourages roots to grow downward and prevents disturbing tiny seedlings from the top.
5. Fertilize
Seed starting mix has little to no nutrients—it’s designed for germination, not growth. Once seedlings have their first set of true leaves (the second pair, not the initial seed leaves), start feeding them. I use Miracle-Gro mixed at half strength every 1-2 weeks. Full strength can burn young roots, so dilute it until the plants are bigger and established.
6. Harden Off
This is the step people skip—and then wonder why their transplants wilt and die. I’ve made that mistake myself. Skipped hardening off, put seedlings straight outside, and lost them. It’s a hard lesson when you’ve spent weeks nurturing plants indoors only to kill them in a day. Hardening off gradually exposes indoor seedlings to outdoor conditions over 7-10 days.
- Days 1-2: Set seedlings outside in a shady, sheltered spot for 2-3 hours. Bring back inside.
- Days 3-4: Increase to 4-5 hours, with some direct morning sun.
- Days 5-7: Full sun exposure for most of the day. Bring inside overnight if frost is possible.
- Days 8-10: Leave outside all day and night (if temperatures stay above 50°F).
If you winter sow your cold-hardy seeds, those plants skip this step entirely—they’ve been outside the whole time.
7. Transplant
After hardening off and after the last frost date, transplant into the garden. Water well. Add eggshell powder to planting holes for tomatoes and peppers to prevent blossom end rot.
Quick Reference
Timeline (Zone 4b, last frost ~May 15):
- March 15: Start peppers (8 weeks out)
- March 15-April 1: Start tomatoes (6-8 weeks out)
- April 1-15: Start basil, eggplant (4-6 weeks out)
- Late April-Early May: Harden off (7-10 days)
- After May 15: Transplant
Basic Setup:
- Table or shelf + grow lights + timer (16 on / 8 off)
- Seed starting mix in reused pots or trays
- Spray bottle and/or bottom watering tray
Key Rules:
- Lights 2-4 inches from seedlings—closer than you think
- Label everything immediately
- Water when top of soil is dry (not before)
- Harden off for 7-10 days before transplanting
- Count backward from last frost date to determine start date
Links & References
- More Wednesday Wisdom: Garden Planning Spreadsheet — how to plan what to grow, when to start, and how much you need
- More Wednesday Wisdom: Eggshells Aren’t Trash — free calcium for tomato and pepper planting holes
- More Wednesday Wisdom: Winter Sowing — the zero-equipment method for cold-hardy seeds
- More Wednesday Wisdom: 2026 Seed Starting Season — how my grow tent, paper towel method, and three pepper varieties are doing this year
- Coming Soon: Composting Basics — turning kitchen waste into garden soil
Equipment used in this post: As an Amazon Associate, I earn from qualifying purchases.
- Barrina T5 LED Grow Lights — affordable, linkable LED shop lights that work great for seedlings
- VIVOSUN Seedling Heat Mat — speeds up germination significantly
- Bootstrap Farmer 1020 Seed Starting Trays — durable, reusable trays
- Bootstrap Farmer Propagation Humidity Domes — keeps moisture in during germination
- Jiffy Peat Pellets 72-Pack — easy no-mess seed starting
You don’t need a green thumb to start seeds indoors. You need a timer, some lights, and the patience to learn a little more each season.